This post may contain affiliate links which means I may receive a commission for purchases made through links. Learn more on my Private Policy page.
A Greener Tomorrow: Your DIY Guide to Installing a Sprinkler System on Your Farm
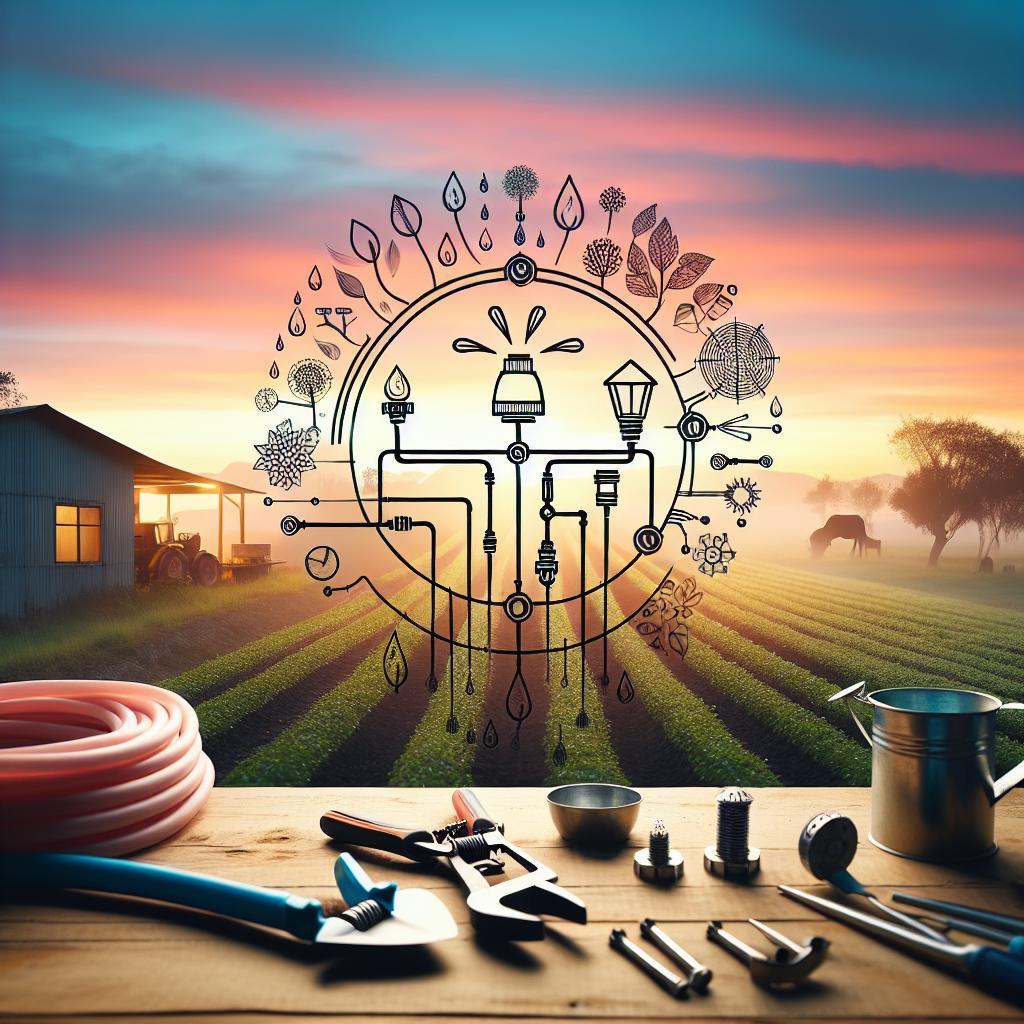
Welcome to the world of lush, green fields where every drop of water counts! Whether you’re a seasoned farmer or just starting your farming journey, ensuring your crops recieve the right amount of hydration is crucial for achieving a bountiful harvest. Picture this: your farm, flourishing under the sun, with rows of vibrant vegetables and blooming flowers, all thriving thanks to a perfectly installed sprinkler system tailored to your land’s unique needs.
In this kind guide, we’ll take you through the ins and outs of designing and installing your own sprinkler system—no PhD in irrigation necessary! With a mix of easy-to-follow steps, handy tips, and a sprinkle of humor (as who says DIY can’t be fun?), we’ll help you transform your farm into an oasis of greenery. So roll up your sleeves,grab your tools,and let’s dive in to create a thriving ecosystem where every plant can flourish,one twinkling drop at a time!
Getting Started with your Farm’s Sprinkler System Essentials
Before diving into the installation process, it’s essential to understand the key components that will make your farm’s sprinkler system efficient and effective. The primary elements include:
- Water Source: Identify the water supply you’ll be using, whether it’s a well, pond, or municipal supply.
- Pipes and Fittings: Choose the right size and type of pipes based on the scale of your operation.
- Sprinkler Heads: Select the appropriate heads for the areas you’re covering, like stationary or rotating heads.
- Valves and Timers: Implement smart valves and timers to manage water flow efficiently.
- Filters: Install filters to prevent clogging and ensure a consistent water supply.
Next, planning your layout is crucial for maximizing coverage and minimizing water waste. Start by sketching a diagram of your farm, marking areas that require irrigation. Consider the following tips for your design:
- Zone Planning: divide your farm into zones based on crop needs and sunlight exposure.
- Spacing: Ensure proper spacing between heads to avoid dry or overwatered patches.
- Elevation Changes: Take note of any slopes or elevation changes that may affect water flow.
| Component | Function |
|---|---|
| Water source | Provides the necessary water supply. |
| Pipes | Transport water to different areas. |
| Sprinkler Heads | Distribute water evenly over the crops. |
| Valves | Control water flow in various zones. |

Choosing the right Components for Maximum Efficiency
When planning your sprinkler system, it’s essential to select components that work harmoniously together for optimal performance. Begin by choosing the right pump; this should match your water source’s capacity and your farm’s specific irrigation needs. Evaluate options such as submersible pumps for deep-well installations or surface pumps for shallow water sources. Additionally, the size and type of piping you select plays a crucial role in efficiency. Consider using PVC pipes for their durability and ease of installation, while ensuring you select the correct diameter to minimize water loss due to friction.
Another critically important aspect is the sprinkler heads. Opt for adjustable or fixed patterns based on the crops you’re irrigating. Use a mix of stationary and rotating heads to provide various watering options across different zones. To maintain efficiency, don’t forget to include filters and valves in your system. Filters help keep debris from clogging the system, while valves allow for easy control of water flow.Below is a quick overview of the components you might consider:
| Component Type | Description | Key Benefits |
|---|---|---|
| Pumps | Matches the water source capacity | Ensures sufficient water pressure |
| Pipes | PVC for durability | Minimizes water loss |
| Sprinkler Heads | Adjustable and fixed options | Customized watering patterns |
| Filters | Prevents clogging | Prolongs system life |
| Valves | Control water flow | Enhances zone management |

step-by-Step Installation Tips to Make It a Breeze
Installing a sprinkler system doesn’t have to be a daunting task. To ease the process, start by planning your layout. consider the size of your farm and the specific areas that require watering. Sketch a quick diagram to visualize where the piping,valves,and sprinkler heads will go. This will not only streamline your installation but also help ensure full coverage. once you have a plan, gather your materials ahead of time to avoid any interruptions during installation. Key items you’ll need include:
- Sprinkler heads
- Pvc piping
- Valves
- Connectors
- Tools (shovel, pipe cutter, wrench)
Next, you can dive into the installation itself. It’s beneficial to work in sections, starting with the main line before branching out to lateral lines. As you dig trenches for your pipes,make sure they are deep enough to avoid damage from foot traffic or farm equipment. A good rule of thumb is to dig at least 6 inches deep. once your pipes are laid out, use a level to ensure everything is even before covering with soil. For a smooth finish, here’s a handy table to summarize the important steps:
| Step | Action |
|---|---|
| 1 | Plan your layout and gather materials |
| 2 | Dig trenches for pipe installation |
| 3 | Install main line and lateral lines |
| 4 | Check levels and cover with soil |
Maintaining Your System for a Lush, Thriving Farm
Building and installing your sprinkler system is just the beginning of your journey towards a flourishing farm.Regular maintenance is essential to ensure it operates efficiently and effectively. Start with weekly inspections of your sprinkler heads to check for clogs or misalignments which can lead to uneven watering. Additionally, examine the valves and pipes for leaks—addressing these issues promptly can save water and money. It’s also a good practice to clean your filter screens and flush your system at the beginning of the growing season to remove any debris that may have accumulated over time.
To help you manage your system, consider implementing a simple maintenance schedule. This can include tasks like:
- Monthly: Check the settings on your controller and make necessary adjustments.
- Seasonally: Inspect the entire system for signs of wear and tear; replace parts as needed.
- Annually: Conduct a thorough system audit to assess performance and efficiency; consider any upgrades to enhance functionality.
Documenting your maintenance efforts can also provide insights into your system’s performance over time. Here’s a quick reference table to keep track of your schedule:
| Task | Frequency | Notes |
|---|---|---|
| Inspect Sprinkler Heads | Weekly | Clean clogs, adjust angles. |
| Check for Leaks | Weekly | Inspect valves and pipes. |
| Clean filter Screens | seasonally | Remove dirt and debris. |
| Full System Audit | Annually | Evaluate system performance. |
Closing Remarks
As you wrap up your journey into the world of DIY sprinkler system installation, remember that every droplet counts! You’ve armed yourself with the knowledge and tools to transform your farm into a lush oasis, ensuring that your crops get the hydration they need to thrive. With a little patience and a sprinkle of creativity, you’ve taken the first step toward a more efficient farming experience.
Now, as you step outside to admire your handiwork, imagine the vibrant greenery that will soon flourish under your careful watch. Whether you’ve chosen a simple solution or have dived into a more complex setup, rest assured that your efforts will pay off in healthy plants and bountiful harvests.
So grab your favourite beverage, take a moment to celebrate your accomplishment, and prepare for the season ahead. With your newly installed sprinkler system, gardening won’t just be a labor of love; it’ll be a symphony of thriving crops and happy plants—all thanks to you! Cheers to a greener future and to the rewarding journey of nurturing your farm! 🌱💦
This post may contain affiliate links which means I may receive a commission for purchases made through links. Learn more on my Private Policy page.